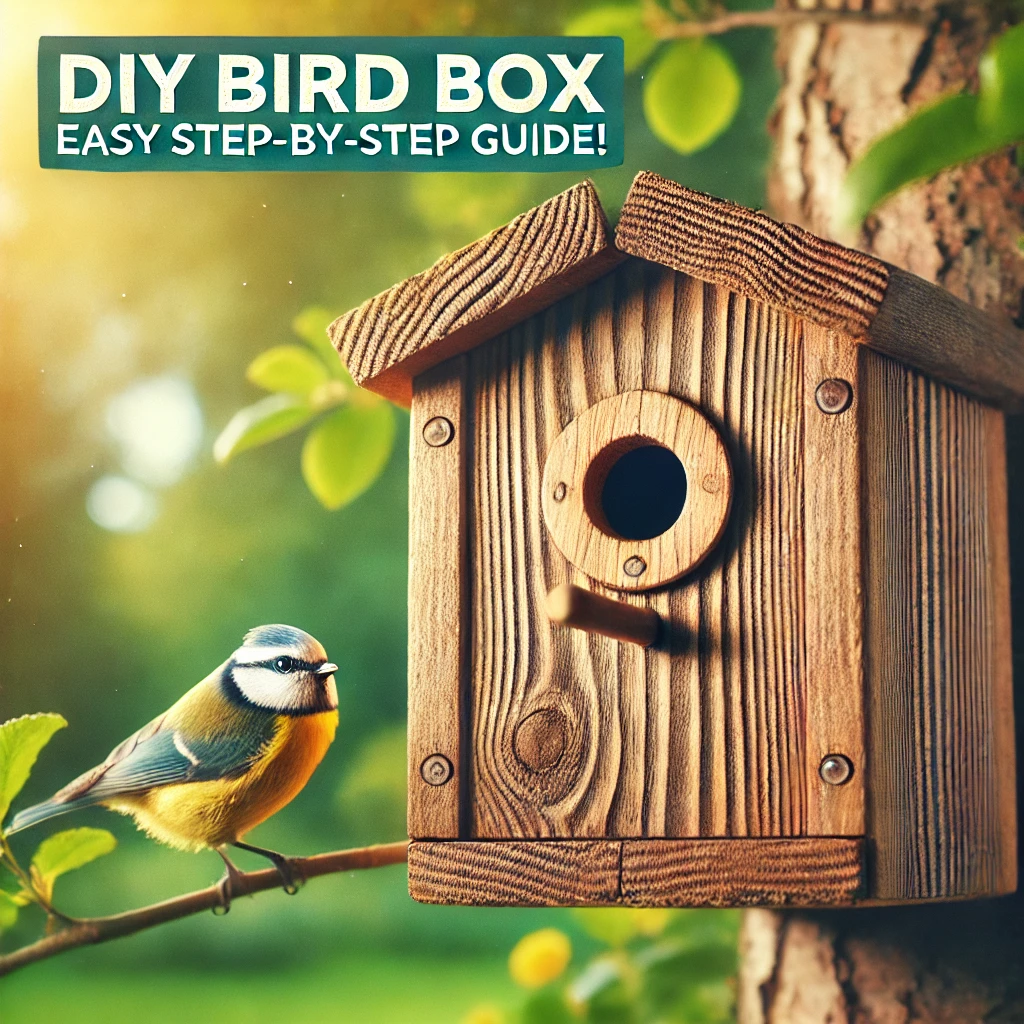
How to Make a Simple Bird Box | Easy DIY Guide for Beginners
Building a bird box is one of the most rewarding DIY projects for nature lovers. Not only does it provide a safe shelter for birds, but it also brings beauty and life to your garden or backyard. In this guide, you’ll learn how to make a bird box from scratch using simple tools and materials you probably already have at home.
Why Build a Bird Box?
Bird boxes (also called nest boxes or birdhouses) provide safe nesting places for birds, especially in areas where natural cavities are limited. By learning how to build a birdhouse, you’re helping the environment and attracting beautiful species to your home garden.
Materials You’ll Need
- 1 untreated wooden plank (150mm wide x 15mm thick)
- Galvanized nails or screws
- Saw
- Drill with hole saw bit (25mm–32mm)
- Sandpaper
- Measuring tape
- Pencil
- Hinges (for access)
- Non-toxic wood glue (optional)
Step-by-Step: How to Make a Simple Bird Box
Step 1: Measure and Cut the Wood
Using a saw and measuring tape, cut your wood into the following sections:
- Back panel: 30cm
- Base: 12cm
- Front panel: 20cm (with an entry hole drilled 14cm from the bottom)
- Two sides: 20cm sloped from back to front
- Roof: 15cm x 15cm (slanted preferred)
Make sure to sand the edges smooth. Sharp splinters can be harmful to both you and the birds.
Step 2: Drill the Entrance Hole
Using a hole saw bit, drill a hole between 25mm to 32mm wide depending on the bird species you want to attract. This is where birds will enter the nest. For best results, refer to this DIY bird box video tutorial.
Step 3: Assemble the Box
Use galvanized nails or screws to attach the side panels to the base and back panel. Then attach the front piece with the hole you just drilled. Finish with the roof panel. For easier cleaning, hinge the roof or one side. Always leave a small gap for ventilation and drainage.
Step 4: Add Finishing Touches
Lightly sand any rough edges. Do not paint the inside or use toxic glues or varnishes. You can use a non-toxic, water-based preservative on the outside if desired.
Where to Place Your Bird Box
Location matters! Mount your bird box 1.5 to 3 meters above the ground, away from direct sunlight, rain, or predators. Attach to a tree or wall using strong wire or brackets. The entrance hole should face northeast to avoid harsh weather.
For inspiration, check out this detailed birdhouse construction guide on YouTube.
Best Time to Install
Install your bird box in late winter or early spring, just before the nesting season begins. Some species may scout early, so having your box up in advance gives them a safe spot to settle in.
Maintenance Tips
- Clean the box once a year in autumn after fledglings have left.
- Wear gloves and use boiling water to clean (avoid chemicals).
- Check for damage and replace parts if needed.
Which Birds Will Use a Bird Box?
Depending on your region and the size of your entrance hole, you can attract species such as:
- Blue tits
- Great tits
- House sparrows
- Nuthatches
- Robins
Watch how different birds interact with nest boxes in this simple birdhouse DIY video.
Benefits of Building Your Own Birdhouse
- Cost-effective and fun DIY project
- Encourages biodiversity in your backyard
- Great for kids and families
- Supports conservation efforts
Common Mistakes to Avoid
- Using treated wood – always use untreated pine or cedar
- Adding a perch – it encourages predators
- Placing it in direct sunlight or high-traffic areas
- Painting the interior – it can be toxic to chicks
Always follow guidelines from trusted sources and see how it’s done correctly in this step-by-step bird box video guide.
Encourage Nesting with the Right Environment
Besides the bird box, you can make your yard bird-friendly by:
- Adding bird feeders
- Installing bird baths
- Planting native shrubs and trees
- Keeping pets away from nesting zones
Conclusion
Creating a bird box is not only simple but also incredibly satisfying. With just a few materials and some time, you can help support bird populations and enjoy the magic of nature in your own backyard. Whether you’re an avid birdwatcher or someone looking for a new hobby, this DIY project is perfect.
Need visual instructions? Watch this DIY bird box video for a hands-on demonstration.


