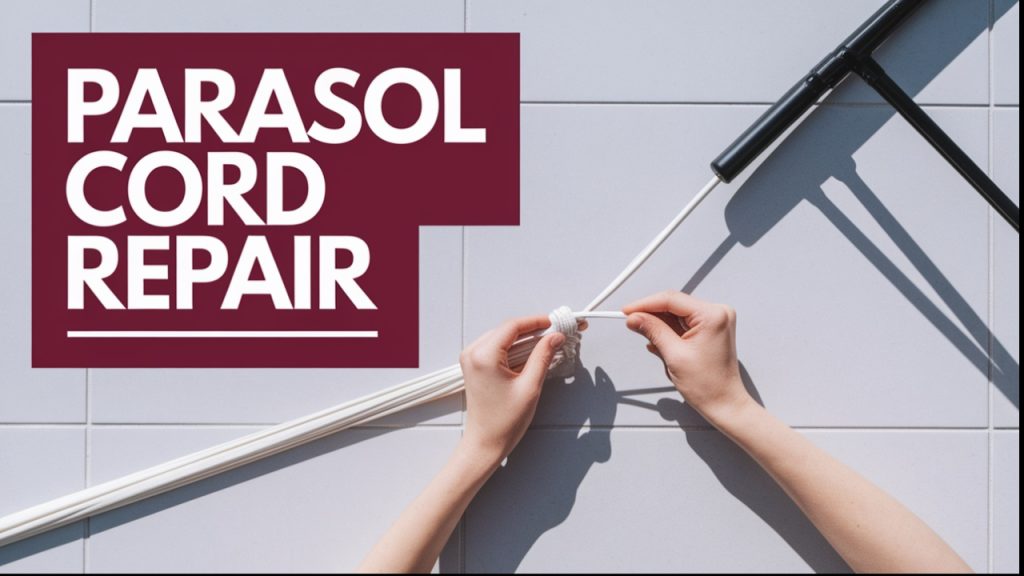
Cantilever Umbrella Cord Repair DIY: Garden Parasol String Replacement Guide
Is your cantilever umbrella refusing to open or close smoothly? A frayed or broken cord might be the culprit. Instead of replacing the entire parasol, you can perform a simple DIY repair to restore its functionality. This guide will walk you through the process of replacing the cord in your garden parasol, saving you time and money.
Understanding the Problem
Over time, the cord in a cantilever umbrella can wear out due to exposure to the elements and regular use. Signs of a damaged cord include:
- Difficulty in opening or closing the umbrella
- Visible fraying or snapping of the cord
- Unusual noises during operation
Before proceeding with the repair, it’s essential to confirm that the cord is the issue. Inspect the umbrella’s mechanism and ensure that other components, such as the crank or pulley system, are functioning correctly.
Tools and Materials Needed
Gather the following tools and materials before starting the repair:
- Replacement cord (nylon or polyester, matching the original diameter)
- Screwdriver set
- Scissors
- Lighter (for sealing cord ends)
- Needle-nose pliers
- Measuring tape
- Step ladder (if necessary)
Ensure you have a suitable workspace with enough room to maneuver the umbrella and access its components safely.
Step-by-Step Cord Replacement
- Disassemble the Crank Mechanism: Use the screwdriver to remove the screws holding the crank housing. Carefully open the housing to expose the internal mechanism.
- Remove the Old Cord: Detach the damaged cord from the crank and pulley system. Note the threading path for the new cord installation.
- Measure and Cut the New Cord: Use the measuring tape to determine the required length of the new cord, adding extra length for knots. Cut the cord and seal the ends with a lighter to prevent fraying.
- Thread the New Cord: Follow the original threading path, guiding the new cord through the pulley system and crank mechanism. Use needle-nose pliers for tight spaces.
- Secure the Cord: Tie knots at the appropriate points to secure the cord. Ensure the knots are tight and positioned correctly to allow smooth operation.
- Reassemble the Crank Housing: Close the crank housing and secure it with screws. Test the umbrella’s operation to confirm the repair’s success.
Maintenance Tips
To prolong the life of your cantilever umbrella and its cord:
- Regularly inspect the cord for signs of wear
- Keep the umbrella closed during strong winds
- Store the umbrella in a dry place when not in use
- Lubricate moving parts annually to ensure smooth operation
Video Tutorials
For a visual guide on repairing your cantilever umbrella cord, check out the following videos:
- Cantilever Umbrella Cord Repair DIY Garden Parasol String Replacement
- DIY Cantilever Parasol Cord Repair That Actually Works
- Quick Fix for Patio Umbrella Cord
- Easy Cantilever Umbrella String Replacement
- Garden Parasol Cord Replacement Tutorial
- Step-by-Step Cantilever Umbrella Cord Repair
- DIY Garden Parasol String Replacement Guide
- Cantilever Umbrella Cord Repair Made Easy
Conclusion
Repairing the cord of your cantilever umbrella is a straightforward DIY task that can restore its functionality and extend its lifespan. By following the steps outlined in this guide and referring to the video tutorials, you can confidently perform the repair and enjoy your outdoor space without interruption.