
How to Clean Your Car’s MAF Sensor | Easy 10-Minute DIY Guide
If your car is experiencing rough idling, sluggish acceleration, or poor fuel economy, the culprit might be a dirty MAF (Mass Air Flow) sensor. This component plays a crucial role in managing your vehicle’s air-to-fuel ratio, which directly impacts engine efficiency and performance. Fortunately, cleaning the MAF sensor is an easy DIY job that takes just 10 minutes and requires no advanced tools.
🧠 What Is a MAF Sensor and What Does It Do?
The Mass Air Flow (MAF) sensor measures the amount of air entering your engine. This information is used by the ECU (Engine Control Unit) to determine how much fuel to inject into the combustion chamber. An accurate air reading ensures a proper air-fuel mixture, which optimizes power output, reduces emissions, and improves fuel economy.
A dirty or contaminated MAF sensor sends incorrect signals to the ECU, often resulting in:
- Check engine light
- Engine stalling or hesitation
- Reduced throttle response
- Poor fuel mileage
🛠️ Tools & Materials You’ll Need
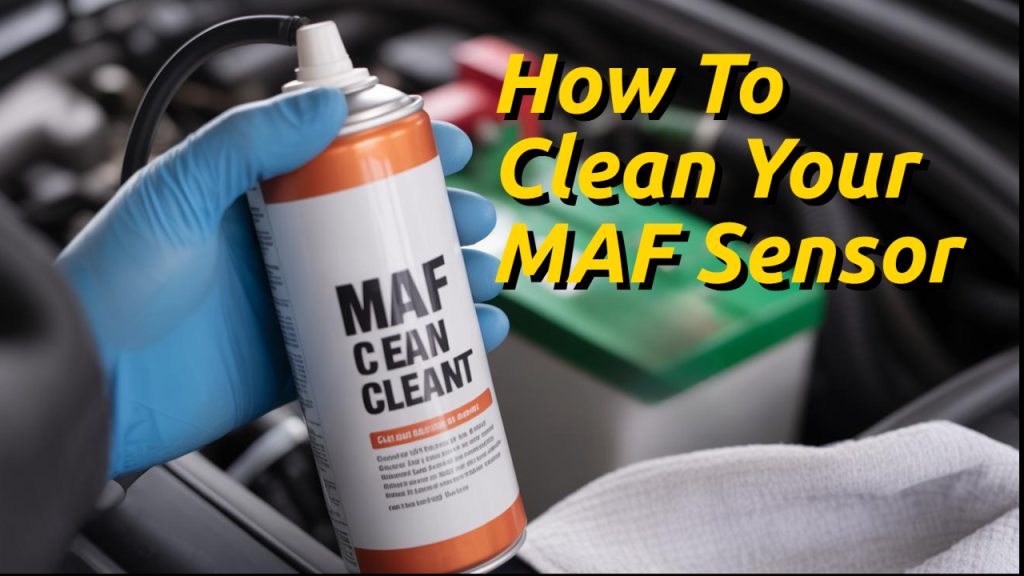
- MAF sensor cleaner spray (do not use carb cleaner)
- Flathead screwdriver or Torx bit (depending on your sensor)
- Gloves and safety goggles
- Optional: Socket set
⚠️ Safety First!
Always work on a completely cooled engine and disconnect the negative battery terminal before handling any electrical components. Do not touch the sensor wires with your hands or tools — they are extremely delicate.
🔧 Step-by-Step: How to Clean Your MAF Sensor
Step 1: Locate the MAF Sensor
The MAF sensor is usually found between the air filter box and the throttle body. It’s housed inside the intake pipe and will have an electrical connector attached.
Step 2: Disconnect the Battery
Disconnect the negative terminal of your car battery. This prevents any accidental short circuits while you work on the sensor.
Step 3: Remove the MAF Sensor
Unclip the electrical connector and use a screwdriver or Torx bit to loosen the screws holding the sensor. Gently pull the MAF sensor out without touching the wires inside.
Step 4: Clean the Sensor
Spray the MAF cleaner generously onto the sensor wires and housing. Use short bursts and hold the can 6-8 inches away. Do not scrub or wipe the sensor.
Step 5: Let It Dry
Allow the sensor to air dry completely for 10–15 minutes. Do not use compressed air or heat to speed up the process.
Step 6: Reinstall the Sensor
Reinsert the MAF sensor into the intake pipe, tighten the screws, and reconnect the electrical harness. Reconnect the battery terminal as well.
🚗 Benefits of Cleaning Your MAF Sensor
- Restores proper air-fuel mixture
- Improves engine performance
- Boosts fuel efficiency
- Reduces emissions
- Eliminates rough idling and hesitation
🔁 How Often Should You Clean the MAF Sensor?
It’s recommended to clean your MAF sensor every 12,000 to 15,000 miles or during routine air filter changes. If you drive in dusty or polluted environments, you may need to do it more frequently.
🧪 Signs of a Dirty MAF Sensor
- Check engine light
- Difficulty starting the car
- Uneven or jerky acceleration
- Poor fuel economy
- Engine stalling
💡 Quick Pro Tip
Always use a specialized MAF sensor cleaner. Using anything else, like carb cleaner or brake cleaner, can permanently damage the sensor’s delicate components.
📽️ DIY Video Tutorial
Want a visual walkthrough? Watch our step-by-step video here:
https://youtu.be/X8KLQJQKWEc
✅ Final Thoughts
Cleaning your car’s MAF sensor is one of the easiest and most rewarding DIY maintenance jobs you can do. In just 10 minutes, you can restore your engine’s performance, save fuel, and potentially avoid costly repairs. Make it a regular part of your vehicle’s upkeep and enjoy smoother driving and better fuel economy.


